How to Choose and Teach With a Kids Hammer
So, what’s the best way to get your child started with real DIY tools? Start with a kids hammer. A good one is lightweight, easy to grip, and designed for small hands, allowing children to learn how to use real tools safely and effectively, especially if they’ve moved past pretend play. Not quite sure your child is ready? Take a look at our guide on 6 signs your kid is ready for more than pretend play.
In this guide, you’ll learn how to choose the right kids hammer, teach your child how to use it step by step, and get them started with practical, beginner-friendly projects.
What Makes a Hammer Kid-Friendly
A kids hammer is not a toy, and it shouldn’t feel like one. It is a functional tool scaled for a child’s size, grip, and strength. Here’s what to look for:
- Weight: A head between 7 to 9 ounces works well for ages 2 to 5
- Handle: Shorter handle lengths provide better control and balance
- Grip: Look for a rubberized or non-slip grip that’s easy for small hands to hold
- Build: Avoid plastic hammers. Choose a real metal hammer made for children or beginners.
There are also full beginner tool kits available that include a child-friendly hammer along with other scaled-down tools, which can be a great starting point for families. For example, the STEM Starter Kids Hammer is specifically designed for kids and combines safety, durability, and an easy-to-grip handle.
How to Teach Hammering Basics
When introducing your child to a kids hammer, start slow and keep the process simple. Focus on comfort, control, and safe habits from the beginning.
Step 1: Introduce the tool
Let them hold and explore the hammer. Name its parts: the handle, the head, and the face. Encourage a relaxed grip near the base of the handle.
Step 2: Practice the motion
Before adding nails, have them practice swinging with control. Aim at a soft target like a sponge or cardboard. Talk about balance and accuracy.
Step 3: Choose safe materials
Softwoods like pine, or foam boards with large tacks or golf tees work great. Pre-tap nails so they don’t need to hold them while learning.
Step 4: Nail placement and posture
Demonstrate how to line up the hammer face with the nail. Help them find a stable stance and remind them to look at the nail while swinging.
Step 5: Supervise, guide, and repeat
Offer corrections gently and celebrate their progress. As their coordination improves, increase the complexity of materials or introduce more structured tasks. If you’re looking for ways to make safety part of the process without overwhelming your child, check out our guide on how to teach kids about tool safety without making it scary.
Over time, using a kids hammer will feel second nature, something they can take pride in and build on. For additional guidance on home tool safety and setting up safe workspaces, you can also refer to the American Academy of Pediatrics’ home safety guidelines.
Starter Projects That Build Confidence
Doing is where the learning happens. These projects give kids a meaningful reason to practice hammering while seeing clear results.

Nail Boards
Give your child a piece of scrap wood and a small pile of large nails. Let them hammer the nails in rows, shapes, or randomly. This helps develop control and precision.
Wooden Name Signs
Provide a wooden board and cut-out letters or shapes. Help your child attach them with nails, either for display or decoration. This is a fun intro to assembly skills.
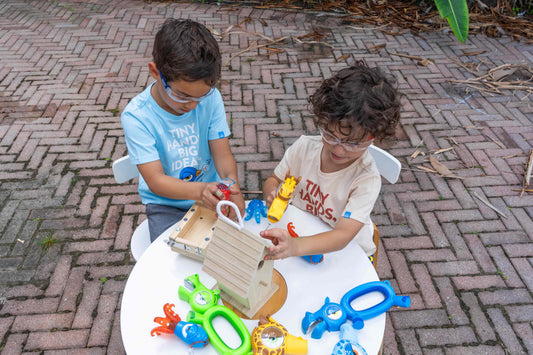
Mini Planter Box
Use pre-cut wooden panels with pilot holes. Show your child how to hold the pieces in place and hammer them together to form a small planter. Add the soil and seeds together afterward.
Tool Caddy Kit
Many beginner kits include pre-measured parts that screw or nail together. These are perfect for practicing real-world building steps with a clear result.
Nail and String Art
Sketch a shape on a board, then help your child hammer in nails along the outline. Use string or yarn to connect the nails and fill in the design. It encourages creativity, planning, and coordination.
These activities are manageable, skill-building, and give kids a sense of completion after just a short session.
What Parents Are Asking About Hammers
1. What kids hammer should I get for my 2-year-old?
For toddlers, the best pick is something real but manageable. Look for a hammer in the 7 to 9-ounce range, with a shorter handle and a soft, easy grip. It should feel sturdy without being heavy. Avoid plastic toy hammers because they don’t teach control or give real feedback. Small metal hammers designed for kids, like those in beginner tool kits from HandyFamm, are made specifically for ages 2 to 5.
2. Why let kids use hammers at all?
Letting kids use real tools builds more than just hand strength. It helps them develop patience, focus, and problem-solving skills. Hammering also supports fine motor development and hand-eye coordination. Most importantly, it gives kids a real sense of pride and independence. With some guidance and safe materials, even young children can take on simple projects that boost their confidence.
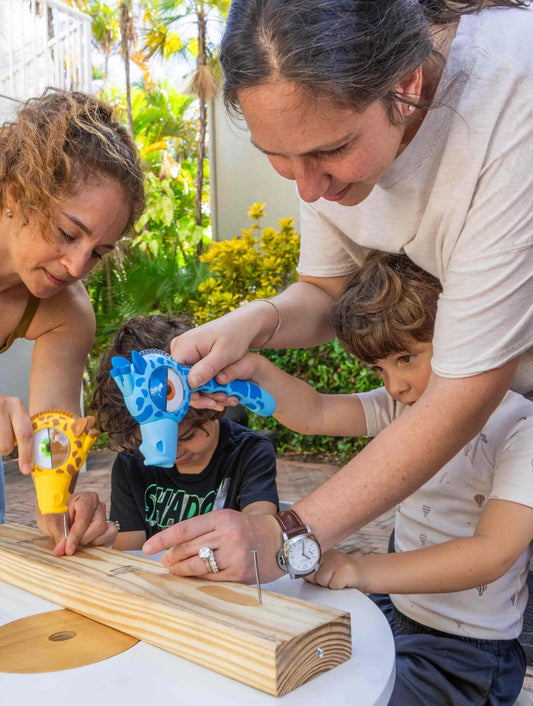
3. How do I keep younger kids safe around hammers?
Start by setting up a designated work area. Even drawing a chalk circle around the space can help create boundaries. Stick to soft wood or foam and use larger nails that are easier to hit. Pre-start the nails if needed. Always have your child wear children’s safety glasses and model how to use the kids hammer responsibly. Teaching tool safety habits early, like how to hold and store the hammer, makes a big difference.
4. What size or weight hammers do toddlers start with?
Children under 5 typically do well with hammers that weigh around 7 or 8 ounces. These are easier to control without tiring their arms. As their strength and coordination improve around age 6, they may be ready for a 1-pound hammer under supervision. Let their progress guide the tools you introduce.
5. Any suggestions for a good quality kid-sized hammer?
Yes. Choose real tools made for small hands instead of toy versions. Brands like HandyFamm, Craftsman, and Stanley offer sturdy, beginner-friendly hammers. If you’re shopping in person, look for labels like “stubby” or “compact.” Make sure the grip feels comfortable and the tool is well-balanced. A good hammer should feel like a tool they want to use, not something awkward or too heavy.
Final Thoughts
A kids hammer is a great way to begin teaching real skills in a safe, hands-on way. Supporting your child’s mental focus and emotional growth through hands-on projects can be just as valuable as academic learning. With the right tool, clear guidance, and a few simple projects, children can learn how to work with focus, care, and confidence. Start small, supervise closely, and let them enjoy the process of building something on their own.

 https://handyfamm.com