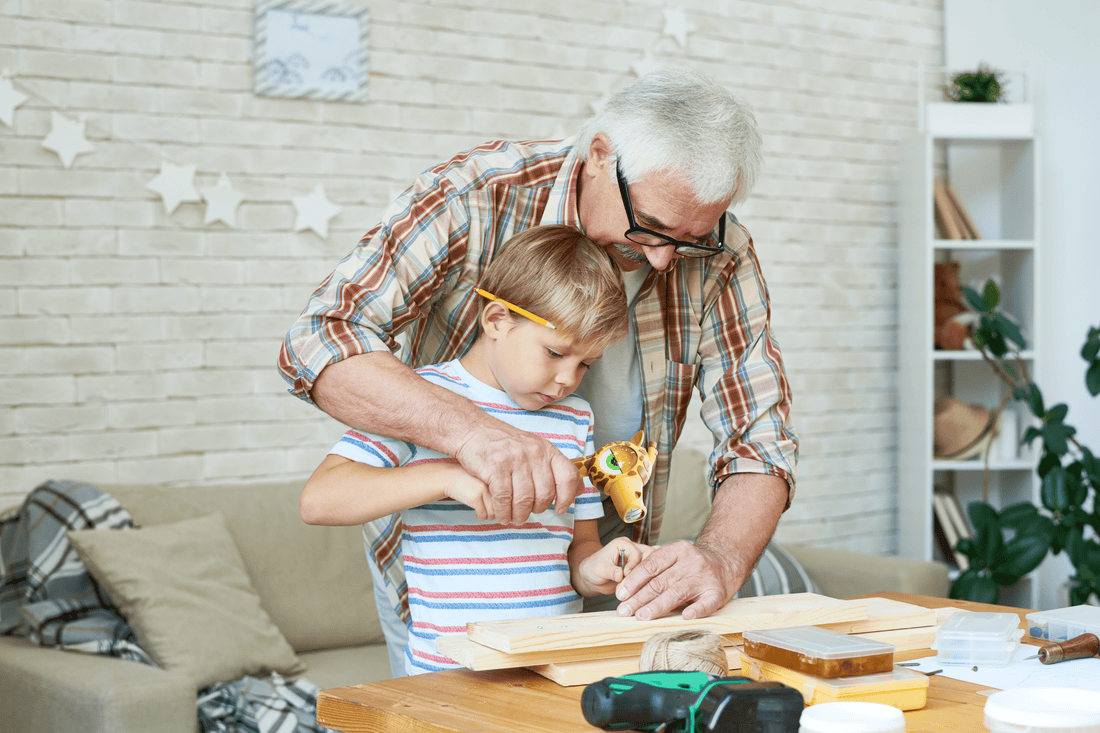
Why DIY with Grandparents Is the Best Weekend Plan
Weekend DIY projects with grandparents are a perfect way to create lasting memories. There’s something special about bringing the family together to craft and build something, especially when it involves hands-on DIY activities for kids. Grandparents provide the perfect balance of guidance and patience, making them the ideal partners for introducing kids to simple tools like a child’s hammer and a child’s measuring tape.
When kids dive into family friendly DIY activities, they’re not only having fun, but also learning valuable skills that they can use for life. Whether it’s creating a small project or simply spending time together, these activities help form connections, spark creativity, and provide an opportunity for kids to bond with their grandparents in a meaningful way.
So, grab your tools and let’s dive into some DIY projects perfect for a weekend of fun and learning!
Project 1: Build a Wooden Picture Frame
This project is the perfect blend of creativity and hands-on learning. Not only will your grandchild learn how to use tools like a child’s hammer and child’s measuring tape, but they’ll also walk away with a keepsake they can proudly display. Plus, it’s a great bonding experience that offers plenty of opportunities to teach them the skills of precision and patience.
What You’ll Need:
- Wooden planks (or popsicle sticks for an easier option)
- Nails
- Wood glue
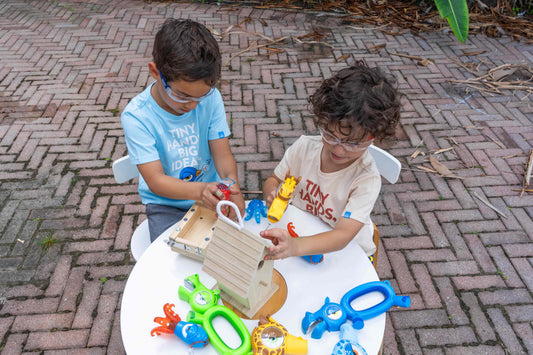
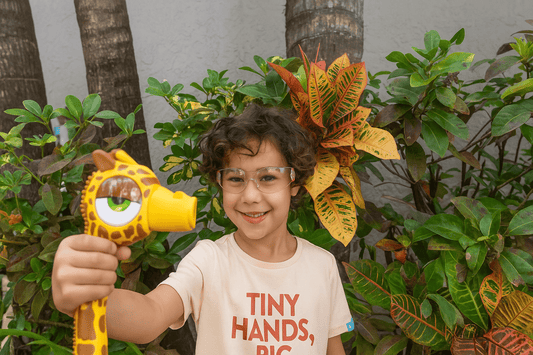
- Child’s hammer (We recommend HandyFamm’s Giraffe Hammer)
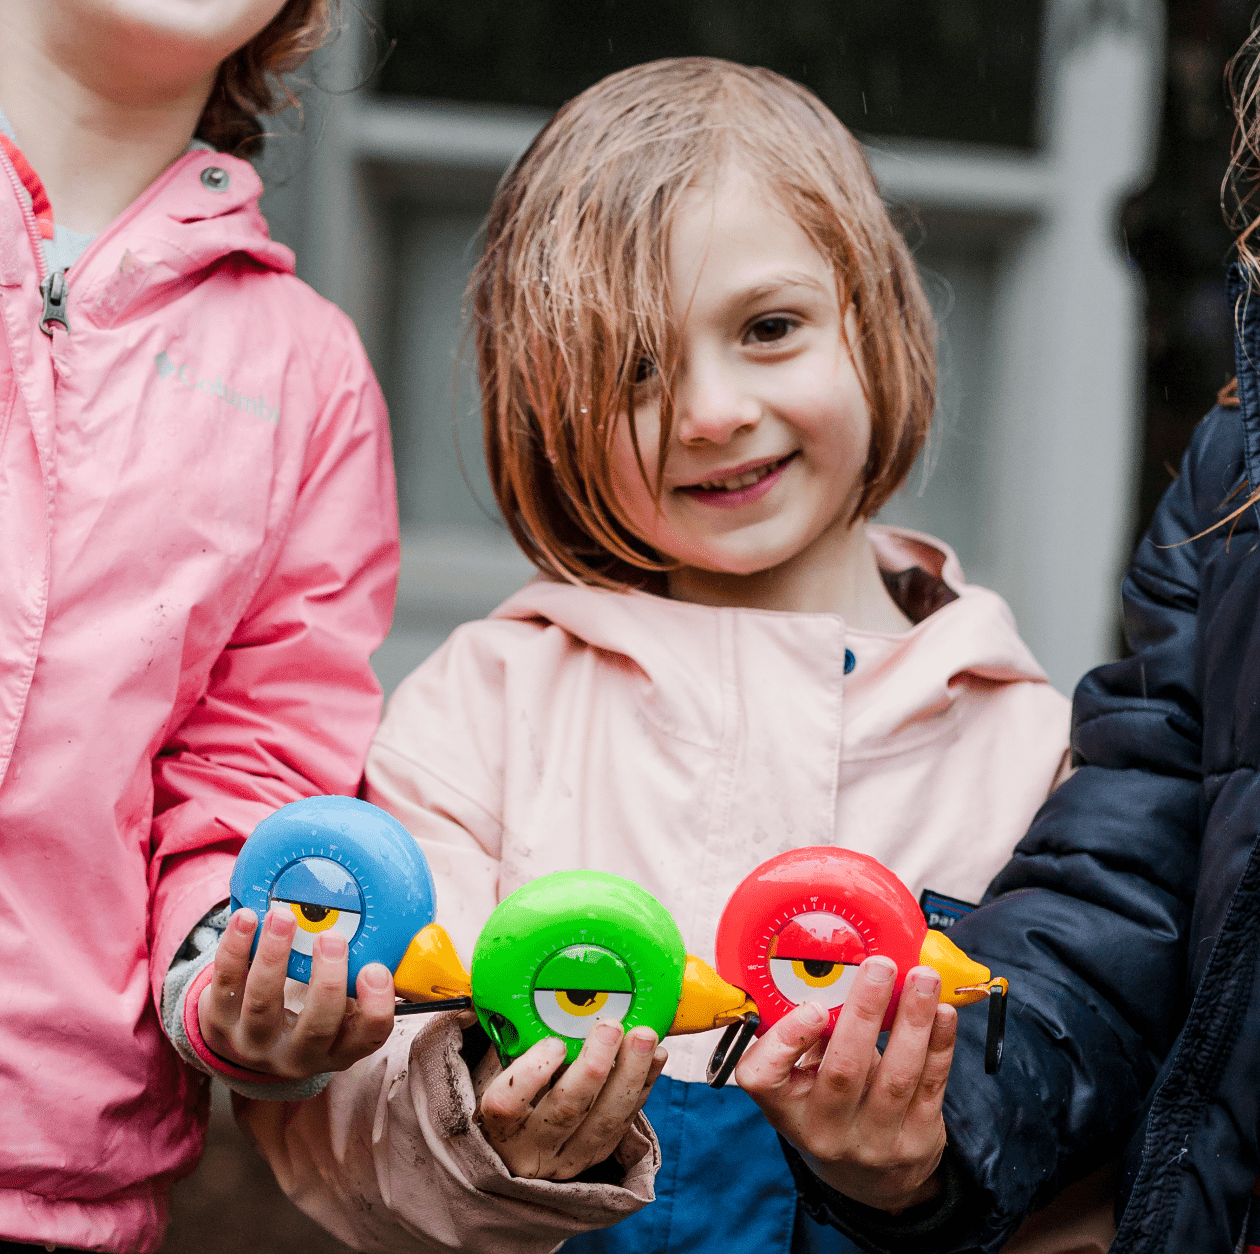
- Child’s measuring tape (Or go for our 4-in-1 DIY Measuring Doggy tool)
- A picture to frame
Steps:
1. Measure and Cut: Start by measuring the length of your picture using the child’s measuring tape. This step introduces your grandchild to the importance of precise measurements.
- Cut the wooden planks (or popsicle sticks) to fit the dimensions of the picture.
2. Assemble the Frame: Line up the pieces of wood to form the frame.
- Use wood glue to stick the pieces together, ensuring they’re aligned properly.
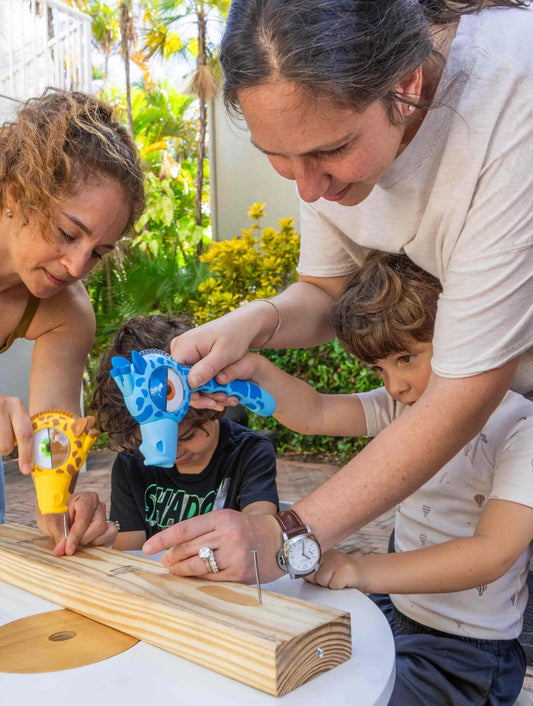
3. Hammer It Together: Now comes the fun part—grab a child’s hammer and assist your kid to gently tap the nails into the corners to hold the frame together.
- It’s a great opportunity to teach your grandchild how to hammer safely and with control.
4. Final Touches: Once the glue has dried and the frame is secure, add your picture inside.
Let your grandchild decorate the frame with paint or stickers if they want a more personalized touch!
Why It’s Great:
- DIY activities for kids like this project teach kids valuable skills like measuring, cutting, and using tools safely and spatial intelligence, find out how
- It’s a fantastic example of family friendly DIY activities that not only encourage creativity but also foster patience and attention to detail. Research shows ages between 5-8 are the perfect time to build skills using DIY. Check out our detailed blog on how DIY for Kids build problem solving and life skills.
- You’ll have a finished project that both you and your grandchild can cherish for years to come.
Project 2: Create a Family Keepsake Box
Here’s a project with a twist of nostalgia—a family keepsake box. Not only is this one fun, but it’s also an opportunity to teach kids about family heritage while wielding a child’s measuring tape. You’ll help your little one measure out the dimensions of the box, instilling the value of precision, and in the end, you’ll have a meaningful piece that brings the family together. Plus, this project is a great conversation starter for when the kids are done building and ready to display it in the home.
What You’ll Need:
- Wooden box or planks to build one
- Child’s measuring tape
- Eco-friendly DIY tools for children (such as non-toxic paints and safe cutting tools)
- Wood glue
- Paint, stickers, and other decorative elements
- Family mementos or keepsakes
Steps:
1. Measuring and Preparation:
- Start by using the child’s measuring tape with your grandchild to measure the size of the box. This step is key for teaching kids how important measurements are in DIY projects. A few extra inches here or there can make a big difference! And using eco-friendly DIY tools for children ensures that the materials are safe, which is always a priority when working with kids.
2. Assembling the Box:
- Once you have the measurements sorted, assemble the wooden pieces using wood glue. If you’re building the box from scratch, ensure that the edges are aligned and securely bonded. Now would be a great time to teach them about patience—waiting for the glue to set can be a good opportunity for a break or a chat about family traditions.
3. Personalizing the Box:
- Let your grandchild get creative here. Whether it's painting the box with their favorite colors, adding stickers, or even drawing family symbols, this is where they can really make it their own. The family keepsake box can also be a canvas for their artistic expression, making it a fun and memorable DIY activity.
4. Filling the Box:
- Now for the best part—filling the box with keepsakes! These can be family photos, letters, or little trinkets that represent moments in the family’s history. As you add items to the box, talk with your grandchild about the significance of each object and why preserving memories is important.
Why It’s Great:
- This project offers the perfect combination of teaching DIY skills while creating something meaningful. The child’s measuring tape helps kids develop their math skills and attention to detail.
- Eco-friendly DIY tools for children also promote a sustainable mindset, making this a fantastic learning opportunity.
- Finally, creating something that holds precious family memories is a priceless way to bond while completing a fun and educational task.
Project 3: Make a Garden Planter Box – Fun for Outdoors
Planting a mini garden is all about nurturing—just like your bond with the kids. This one's less about hammers and more about getting your hands in the dirt. There’s something magical about watching things grow, and there’s no better way to encourage responsibility than by caring for plants. You don’t need a lot of fancy tools—just a non-toxic kids tool set for digging and planting. It's a low-key, rewarding project that makes weekends fun without screen time. Plus, it’s a great opportunity to get outside and enjoy some fresh air while creating something beautiful together.
What You’ll Need:
- Wooden planks or a pre-made garden planter box
- Non-toxic kids tool sets (spades, small rakes, and trowels)
- Soil and compost
- Easy-to-grow plants or seeds (think sunflowers, herbs, or marigolds)
- Paint (optional, to personalize the planter box)
Steps:
1. Building the Planter Box:
- If you’re building your own planter, start by cutting the wooden planks to the desired size. Using a non-toxic kids tool set, kids can safely help by measuring the lengths of wood and holding pieces in place. For safety, it’s important to supervise the cutting part, but they can still get involved with simple tasks like lining up pieces and using a child-friendly hammer or screwdriver.
2. Assembling the Box:
- Once the pieces are cut, assemble the box by securing the planks together. This step teaches kids about teamwork and patience. You can also have them help with sanding the edges for a smoother finish using a safe, non-toxic sandpaper. The DIY aspect of this project gives a sense of accomplishment and shows them how something functional is made from scratch.
3. Preparing the Soil and Planting:
- Once the planter box is ready, fill it with soil and compost. Now comes the fun part—planting! Have the kids dig holes and plant the seeds, using their non-toxic kids tool set. This is where they can really feel like they’re making a difference in nature. As you plant, you can talk to them about the importance of taking care of plants, how they grow, and how it relates to the nurturing care they get from their family.
4. Personalizing the Planter:
- After planting, let the kids decorate the planter box. Use paints to add colors, designs, or even family names. This is a fun way to let their creativity shine through and make the project feel even more special.
Why It’s Great:
- This project combines family friendly DIY activities with outdoor bonding, helping kids understand the importance of nature and responsibility.
- DIY activities for kids like planting a garden ignite curiosity and environmental awareness.
- By using a non-toxic kids tool set, you’re not only ensuring their safety but also teaching them how to handle real tools properly.
Project 4: Build a Simple Wooden Picture Frame
You know what’s underrated? A good ol’ picture frame made with tiny hands and lots of heart. This project’s easy, safe, and perfect for beginners—and it’s a clever way to sneak in a little hands-on learning without making it feel like schoolwork.But the real win? You’re setting up a bonding moment wrapped in wood shavings and giggles. It’s one of those kids DIY projects for parent-child bonding that turns an ordinary Saturday into a memory-maker.
What You’ll Need:
- Four small wooden strips (cut to frame size)
- Wood glue or nails (depending on skill level)
- Child’s hammer
- Small clamps (optional but helpful)
- Paints, stickers, or markers for decorating
- A printed family photo and cardboard backing
Step-by-Step:
1. Measure and Prep:
- Line up the wooden strips to form a rectangle. A ruler is helpful, but so is letting them “eyeball” it for fun practice.
2. Time to Hammer (Safely!):
- This is where you show them how to teach kids hammering safely. Demonstrate how to hold the nail straight, tap gently to start, and keep fingers out of the way. Let them try with the child’s hammer—small and lightweight for those beginner swings.
3. Assemble the Frame:
- Once it’s nailed or glued together, clamp or press it gently until it sets.
4. Get Creative:
- Decorate! Whether they want glitter, googly eyes, or just their initials—this is their time to shine.
5. Insert the Photo:
- Add that special snapshot—maybe one from the last DIY session—and you’re all set.
Why It’s Great:
This one's a keeper. Literally. It holds a photo, sure—but it also holds a memory of working together, learning something new, and making something from scratch. As family friendly DIY activities go, this checks every box: it’s safe, creative, practical, and meaningful. Plus, they’ll be excited to show off their work every time someone walks by it.

Project 5: Make Personalized T-Shirts with Fabric Paint
Ready for a project that’s messy in the best way? Making personalized t-shirts is basically a free pass to get paint all over the place—with purpose. It’s one of those rare screen-free family activities DIY that lets everyone express themselves, no tech required.And yes, you can finally use those old tees at the back of the drawer. Or grab a fresh set and let the creativity begin.
What You’ll Need:
- Plain cotton t-shirts (any light color works best)
- Non-toxic, eco-friendly DIY tools for children – like washable fabric paints and markers
- Sponges, stencils, and paintbrushes
- Cardboard to place inside shirts (so the paint doesn’t bleed through)
- Aprons or old clothes (trust me)
Step-by-Step:
1. Prep the Workstation:
- Cover the table with newspaper or a plastic sheet. Slide a piece of cardboard inside each shirt so the paint stays where it’s supposed to.
2. Choose a Design:
- Names, handprints, hearts, “Grandpa’s Little Helper”—the cheesier, the better. Use stencils if freehanding feels scary, or just go wild and abstract.
3. Paint and Personalize:
- Let the kids dip brushes, stamp sponges, or even use their fingers. It’s full-on creative chaos, but in the most wholesome way.
4. Dry and Set:
- Follow the paint instructions—usually, you’ll need to let the shirts air dry and then set the design with heat (an iron on low, with parchment paper in between, works wonders).
Why It’s Great:
This one’s a hit because the fun doesn’t end when the paint dries. You get wearable memories and outfits that double as bragging rights. Grandparents will love seeing the kids’ personalities splashed across cotton. It’s family friendly DIY activities like this that give everyone a role, a giggle, and a wearable souvenir by the end of the day.
Project 6: Make Your Own Board Game
Game night just got a DIY upgrade. Instead of pulling out the same old board games, how about making your own from scratch? It’s one of those DIY activities for kids that brings out their imagination and gets everyone involved—grandparents included.Whether your game involves pirates, outer space, or a mystery mansion, there’s no limit to how creative this can get.
What You’ll Need:
- Cardboard or thick paper for the game board
- Markers, crayons, colored pencils
- Dice (or make your own!)
- Small objects for game pieces (buttons, coins, beads, etc.)
- Ruler or child’s measuring tape for neat spacing
- Index cards for rules and action prompts
Step-by-Step:
1. Plan the Game Together:
- Decide on a theme and brainstorm some rules. Will players collect treasure? Solve riddles? Race to the finish? Let everyone toss in ideas—it’s half the fun.
2. Design the Board:
- Use the child’s measuring tape to map out spaces evenly. Draw a path, add obstacles or rewards, and get decorating. Don’t forget a start and finish!
3. Create the Pieces:
- Use small items around the house or make characters out of clay or paper. Give them names—trust me, the kids will remember exactly who won and with what piece.
4. Make the Cards or Instructions:
- Write down game rules or create fun prompt cards like “Lose a turn!” or “Move ahead 3 spaces!”
- Play-Test It!
- Once the board is ready, play as a family. You’ll likely tweak some rules as you go—and that’s part of the learning process.
Why It’s Great:
This is one of those kids DIY projects for parent-child bonding that secretly builds skills like logic, communication, and design—all while having a blast. Plus, it’s a total win for rainy days or those “I’m bored” weekends. The next time someone says they’re out of games, you can casually point to the one your family made together.

Conclusion: Wrapping Up and Why DIY with Grandparents is a Win for the Whole Family
There’s something pretty special about handing a paintbrush—or a tiny hammer—to a kid and watching what happens next. DIY activities for kids aren’t just about building birdhouses or planting flowers; they’re about building memories, confidence, and a sense of “we did this together.” And when grandparents are part of the mix? You get a beautiful blend of stories, skills, and giggles across generations.The best part? Family friendly DIY activities don’t need to be Pinterest-perfect or packed with fancy tools. A box of markers, a handful of scrap wood, and some creative energy are often more than enough. What really counts is the time you spend, the messes you make, and the laughs in between.So—what are you waiting for? Let’s make some memories. Grab the tools, pick a project, and bring everyone to the table (or the garden, or the garage). Grandparents, parents, kids—everyone’s got a part to play. And honestly, the photos you’ll take at the end? Totally frame-worthy.
1. How do DIY projects help a child’s brain development?
Research shows that hands-on activities like woodworking or crafting strengthen spatial reasoning, problem-solving, and fine motor skills (Source: National Association for the Education of Young Children). For example, measuring wood for a frame teaches kids proportional thinking—a key aspect of spatial intelligence. DIY also encourages trial-and-error learning, which builds resilience and creativity.
2. Why is intergenerational DIY bonding beneficial?
A 2022 study found that kids who regularly engage in activities with grandparents exhibit higher emotional intelligence and stronger communication skills. DIY projects, in particular, create a shared sense of accomplishment while passing down practical skills. For more on skill-building, see our guide on how DIY fosters problem-solving.
3. What’s the ideal age to introduce tools like a child’s hammer or measuring tape?
Most child development experts recommend ages 3+ for supervised tool use (e.g., plastic hammers) and 5–6+ for basic real tools (with close guidance). Early exposure to safe tools improves hand-eye coordination and confidence. Start with projects like DIY picture frames or birdhouses to build foundational skills.
4. How can I make DIY projects educational without making them feel like “homework”?
The key is play-based learning. For example:
- Turn measuring into a game: “Can you find something longer than this plank?”
Use storytelling: “Let’s build a treasure box for pirate loot!” (This taps into spatial imagination.)
Check out how you can use measuring to introduce math concepts & STEM skills.

 https://handyfamm.com