How to Create a DIY Activity Routine for Kids
Summer break is when routines go out the window and screen time often goes way up. According to a recent CDC report, over half of kids aged 12–17 spend more than four hours a day on screens, with researchers at UC San Francisco noting that even 9- and 10-year-olds may feel more anxious or unfocused when screen time becomes the default activity.
That doesn’t mean summer has to be stressful. It just means we need a plan. A routine filled with hands-on, creative tasks can give kids the structure they crave, without the glare of a screen.
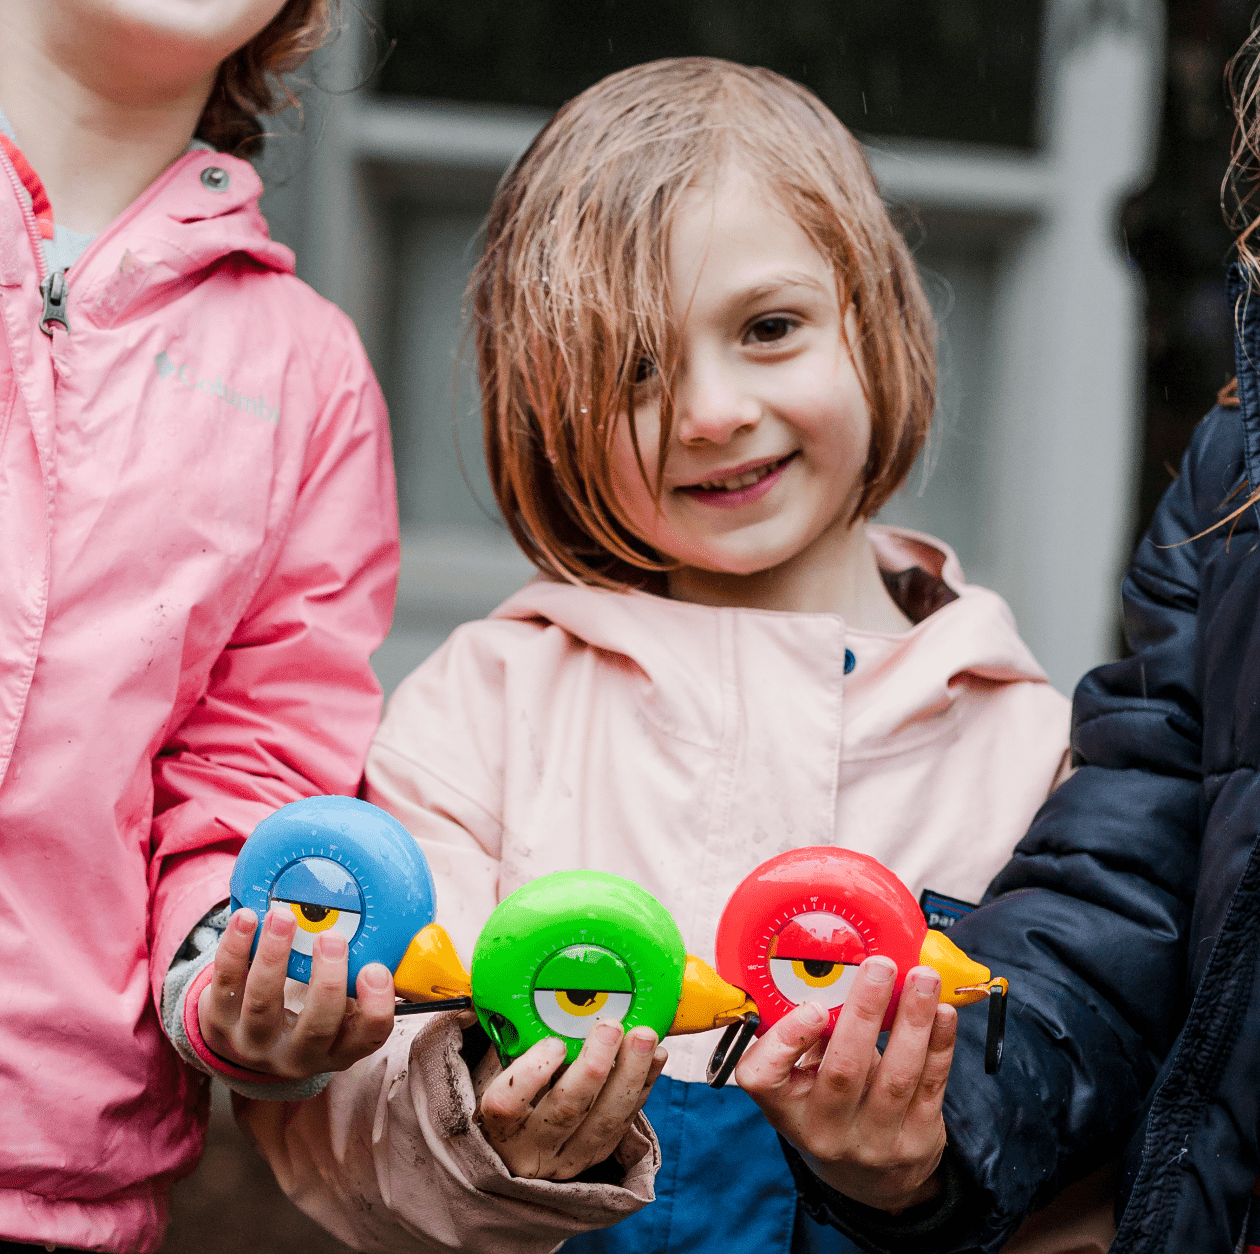
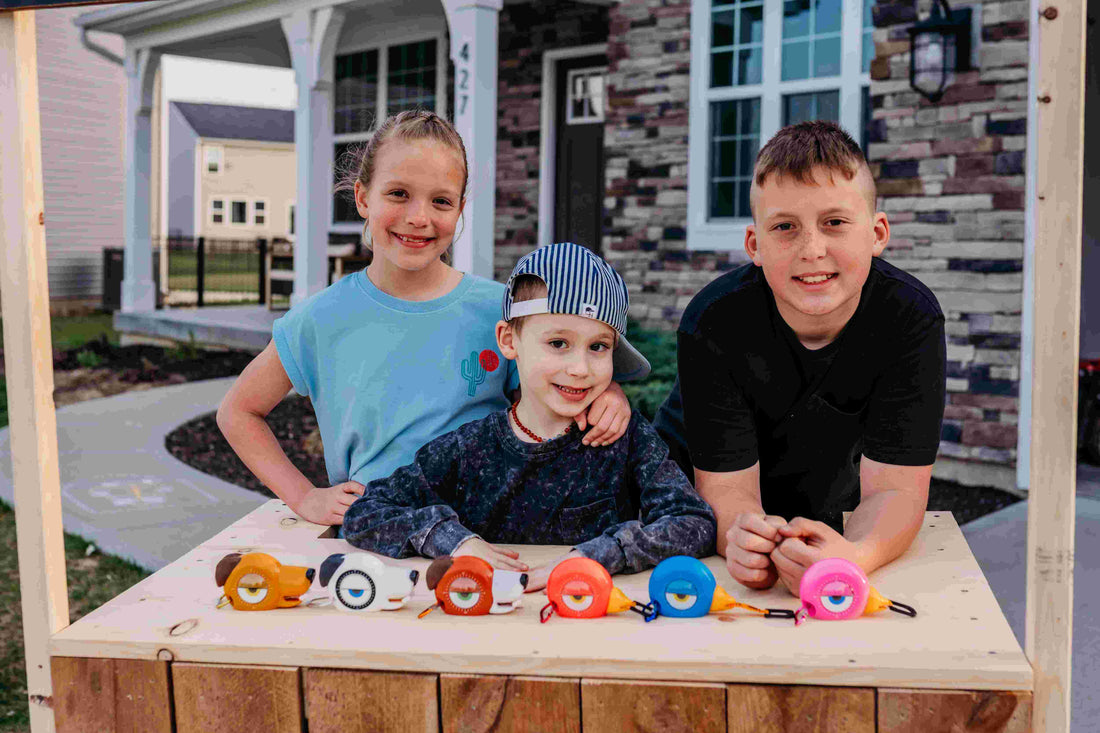
In this guide, you’ll find age-based DIY routines that build focus, confidence, and real-world skills. Whether your child is three or thirteen, these daily plans use safe materials, real tools for kids, and proper gear like children's safety glasses to encourage independent learning. We’ll also highlight fun, practical ways to introduce STEM toys for kids without making it feel like homework.
Let’s build a better summer, one project at a time.
Why DIY Projects Should Match Your Child’s Age
Not all kids learn or play the same way, which is why DIY routines should be planned with age in mind. A three-year-old learning to hold a crayon is in a very different place than an eight-year-old who can follow step-by-step instructions. Their coordination, patience, and ability to focus grow year by year, and the projects they take on should grow with them.
It is a bit like cooking with your child. You would not expect a preschooler to flip pancakes, but stirring the batter is completely doable. The same logic applies to building and crafting. When kids are working on something that fits their stage of development, they stay engaged and feel proud of what they create.
If you want to explore this idea further, our blog The Value of DIY Projects for Child Development dives deeper into how screen-free hands-on tasks can support real growth.
How Much Time Should Kids Spend on DIY Each Day?
One of the most common questions parents have is: How long should my child spend on DIY activities each day to actually build skills?
The answer depends on age, but research supports the idea that short, consistent practice is more effective than occasional long sessions. A study on motor learning published by PubMed Central found that distributed practice, doing a task daily in short intervals leads to better skill development and long-term retention.

Based on what we know about attention spans and motor development, here’s a practical guide:
- Ages 3–5: 15 to 20 minutes per day
- Ages 6–8: 30 to 45 minutes per day
- Ages 9–11: 45 to 60 minutes per day
- Ages 12+: Up to 90 minutes with breaks and variation
Keeping sessions within these time frames helps your child stay focused, enjoy the process, and gradually build real, transferable skills. Now that, that’s sorted let’s dive into the routines.
Routine Plan for Ages 3–5
For kids between 3 and 5, DIY time should be short, simple, and fully supervised. At this stage, it is all about building coordination and learning to follow basic steps.

Plan for one 15 to 20-minute session each day. Focus on hands-on tasks that are easy to repeat and modify.
Examples of age-appropriate activities:
- Hammering soft materials like foam blocks (great for DIY activities for 3-year-olds) make sure they're wearing children's safety glasses
- Painting on cardboard with rollers or sponge brushes (DIY crafts for 4-year-olds)
- Scooping and sorting dry beans or rice into containers (DIY projects for 5-year-olds)
- Matching or stacking puzzles using beginner-friendly STEM toys for kids
As you repeat activities through the week, introduce more structure:
- Begin with free play on Monday
- Add light instructions by mid-week
- End with guided tasks by Friday
Safety first:
Always use children's safety glasses when tapping, scooping, or using any tool. This sets the expectation for safe habits early.
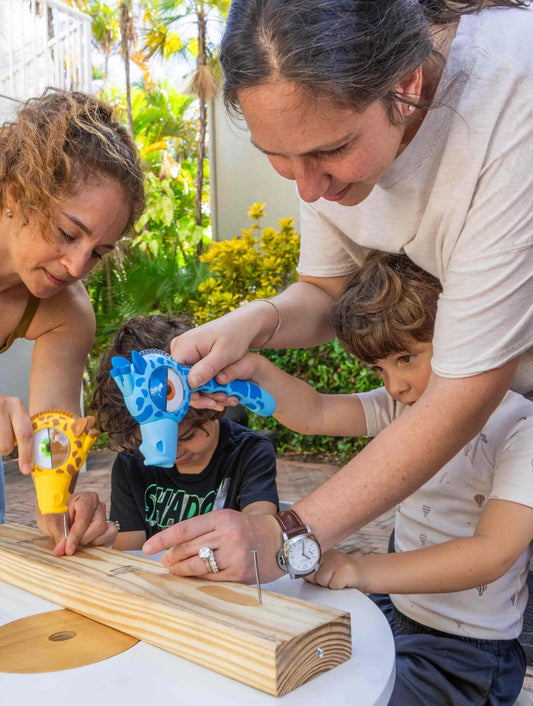
Even at this age, items like lightweight hammers and oversized screwdrivers count as real tools for kids. Let them handle these tools with your guidance to build confidence and motor control.
These short daily sessions help young kids stay focused and feel capable, which is exactly the goal at this stage.
Routine Plan for Ages 6–8
Between ages 6 and 8, kids are ready to take on more structured tasks with light supervision. They can follow multi-step instructions, use beginner tools, and start understanding the “why” behind what they build.
A good rhythm at this stage is a 3-day activity loop:
- Day 1: Build - Assemble the main structure
- Day 2: Decorate - Paint, personalize, or label
- Day 3: Display or Test - Set it up or try it out

Project ideas for this age group:
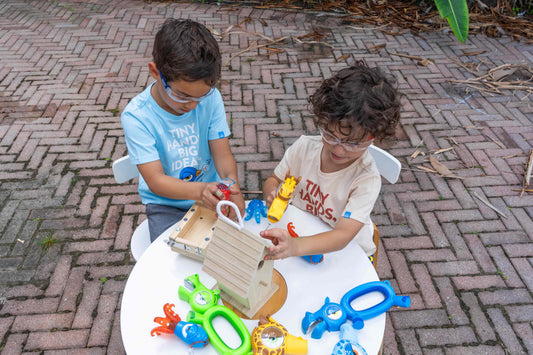
- Small birdhouse kits (DIY crafts for 6-year-olds)
- Basic measuring games using rulers or tape (DIY projects for 7-year-olds)
- Simple assembly tasks like building a pencil holder (DIY activities for 8-year-olds)
- Beginner-friendly nut and bolt exercises with a STEM wrench
For more ideas tailored to this age group, check out our blog 5 Engaging DIY Projects to Kickstart Your Summer (Using Real Tools!). Each project is hands-on, simple to set up, and designed with real tools in mind.
Tool introduction:
- This is a great time to bring in real tools for kids like screwdrivers, clamps, or small hammers
- Let them use a STEM wrench for connecting parts, loosening bolts, or exploring how pieces fit
- These tools also function as engineering toys, helping bridge learning and play
Safety tip:
Always have children's safety glasses available when tools or small parts are involved. Encourage kids to put them on before the project begins.
You can also include STEM toys for kids that involve fitting, measuring, or building with blocks. These reinforce what they’re learning with real tools while keeping the routine fun and age-appropriate.
Routine Plan for Ages 9–11
Between ages 9 and 11, kids can handle more complex tasks with a higher level of independence. This is a great stage to introduce weekly planning, tool-based learning, and real problem-solving.
A simple weekly structure helps keep things organized:
- Monday – Plan and prep the materials
- Tuesday to Thursday – Build and improve the project step by step
- Friday – Reflect, clean up, and display the finished work

DIY project ideas:
- Building simple toolboxes (DIY activities for 9-year-olds)
- Designing and assembling small planter boxes (DIY crafts for 10-year-olds)
- Constructing a wooden bridge using popsicle sticks or scrap wood (DIY projects for 11-year-olds)
Recommended tools and materials:
- A lightweight real hammer and tape measure
- Entry-level power-free tools such as clamps and sanding blocks
- A STEM wrench for bolt-based structures and small repairs
- These tools fall into the category of hands-on engineering toys, perfect for this age group
- Reinforce their learning with modular kits or guided builds from STEM toys for kids, all while wearing children's safety glasses
Safety habits to reinforce:
- Before any project, make sure your kids wear children's safety glasses
- Model the correct way to hold and use each tool
- Supervise, but allow room for independence and small mistakes
This age group thrives on responsibility. Giving them access to real tools for kids, along with structured support, helps build both practical skills and creative thinking.
Routine Plan for Ages 12 and Up
By age 12, most kids are ready for more independence and real ownership of their projects. This is the right stage to introduce long-term builds, tool selection, and light planning responsibilities.
A structured weekly routine helps build consistency and project management skills:
- Monday – Choose the project and prep materials
- Tuesday to Thursday – Build and refine
- Friday – Review what worked, what can improve, and set goals for the next build

Project ideas for this stage:
- Multi-day furniture kits (DIY projects for 12-year-olds)
- Storage caddy for tools or school supplies using nails, screws, and sanding blocks ( dont't forget to wear children's safety glasses)
- Helping with basic home repairs or outdoor fixes (DIY crafts for teens)
- Structured or challenge-based builds using STEM toys for kids
Recommended tools and materials:
- Let them choose from a tool kit including screwdriver sets, levelers, and a full-size STEM wrench
- Modular or build-from-scratch engineering toys that encourage experimentation
- Introduce projects that mix design and function, such as adjustable shelves or small storage builds
- Rotate between open-ended challenges and instructional kits to keep engagement high
- Make sure children's safety glasses are worn at the start of every session.
If you're looking to understand how these kinds of tools can improve cognitive growth and spatial thinking, we break it down in our blog:
Parent’s Guide to Boosting Spatial Smarts Using Engineering Tools for Kids.
Safety expectations:
- By now, safety should be second nature
- Make sure children's safety goggles and children's safety glasses are used without needing reminders
- Talk through tool choices before they begin
- Keep supervision available but not overbearing
Allowing room for real decision-making, paired with practical tools like a STEM wrench, gives this age group the chance to turn curiosity into ability. Hands-on work with engineering toys and STEM toys for kids supports more than creativity, it teaches planning, patience, and follow-through.
Set Up a Safe, Organized DIY Space
Kids are far more likely to stick with something when the setup feels fun, not forced. If the tools are scattered or hard to find, interest fades quickly. But if the space feels like it was made just for them, they’re naturally more curious and motivated to keep coming back.
Designate a small corner, shelf, or even a toolbox that’s all theirs. Use clear bins, labels, and visual cues so they can see what’s available. Bright colors, name tags, or even simple “project of the week” signs can help keep the area inviting.
Make safety gears (children's safety glasses) easy to grab and part of the routine just like washing hands before eating. Encourage them to suit up before each session, so it becomes a habit, not a chore.
The goal is to make the space feel like an extension of their creativity, not a checklist. If they love where they work, they’ll love what they build.
Conclusion
DIY routines do more than pass time. They build focus, creativity, and responsibility. The projects your child completes today shape the confidence they carry into tomorrow.
Pick an age group, choose one project, and commit to trying it this week. Start small, keep it consistent, and let the habit grow from there.

If you are unsure where to begin, we recommend starting with the STEM Starter 3-in-1 Tool or the STEM Starter 4-in-1 Tool. These are simple, easy-to-use tools that can help spark interest without overwhelming your child. As they get started, make sure they’re using the basics including children’s safety glasses right from day one. Once they’re engaged, you can build from there, one tool and one routine at a time. Once they’re engaged, you can build from there, one tool and one routine at a time.
The routine starts when you do.
Quality Products, Best Prices, Easy Returns

 https://handyfamm.com